Shorted electrical toaster repaired. Model: Mega
While I was doing business outside my shop, my brother called me to say that I have a customer and he brought something for repair.
Later on when I came to back to my shop and I found this toaster, I was not very happy about it because these kinds of devices are too cheap for repair. It was not worth it.
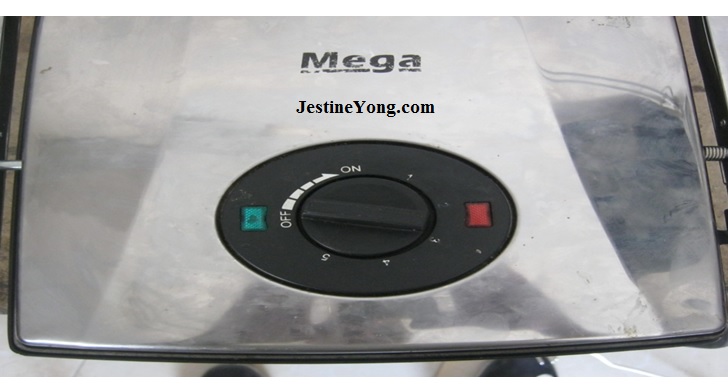
Anyway, I powered the machine and there was no life in it and as you can see, none of the lights come on. From my experience, I know this is has to do with either the heat resistance shorted, blown RY fuse or both.
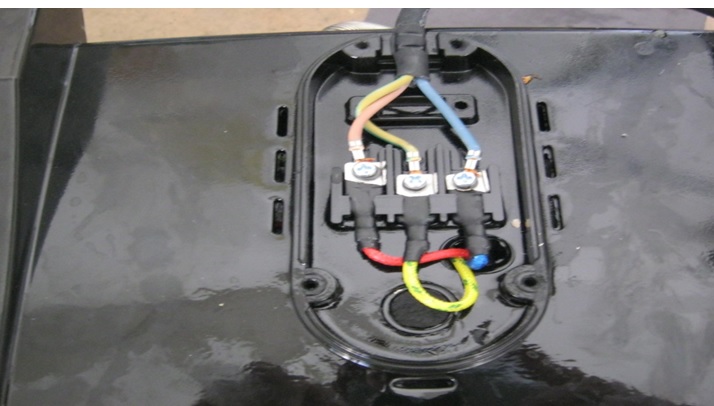
Before proceeding with the repair, I checked the voltage reaching the machine and I got the needed 220 volts to run this machine.
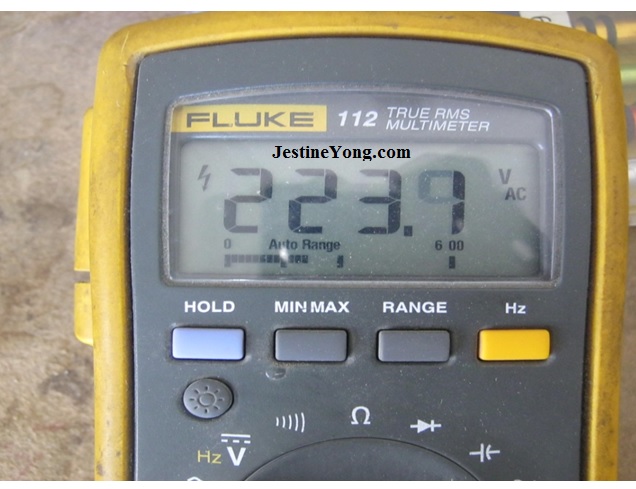
This is what I got when tested the main power line in to the machine which confirms my speculations.
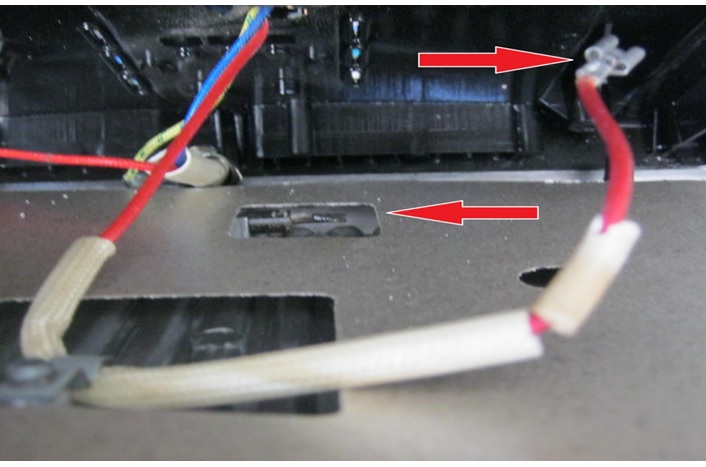
I continued with the repair and the moment I took more covers off, look what I saw. The cable that comes from the main power supply area was loose. I reconnected the loose cable but the machine was still dead. When I checked the main RY fuse connected to this line, it was open.
It was RY fuse, 10 amps, 250 C. It is also a heat protection fuse. If the temperature goes beyond 250 C, the fuse will blow to protect the machine.
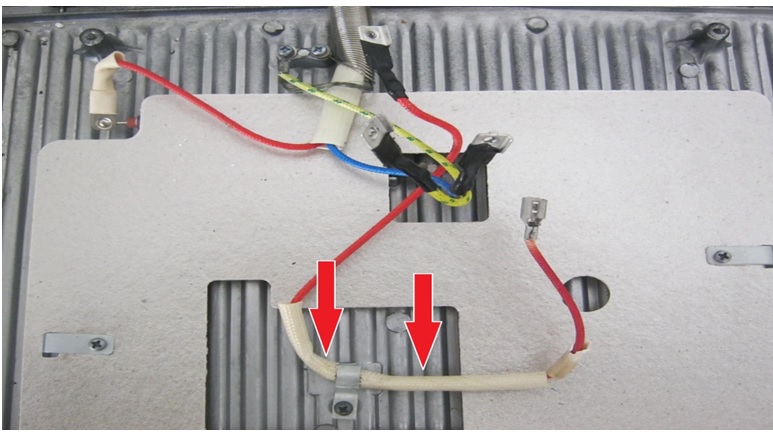
That is where the RY fuse is located. It is very easy to find such fuse but it cannot be soldered to the wire, because it will get hot and it will melt that joint. The best way to attach this fuse is by crimping it to the wire. I have a special tool for that.
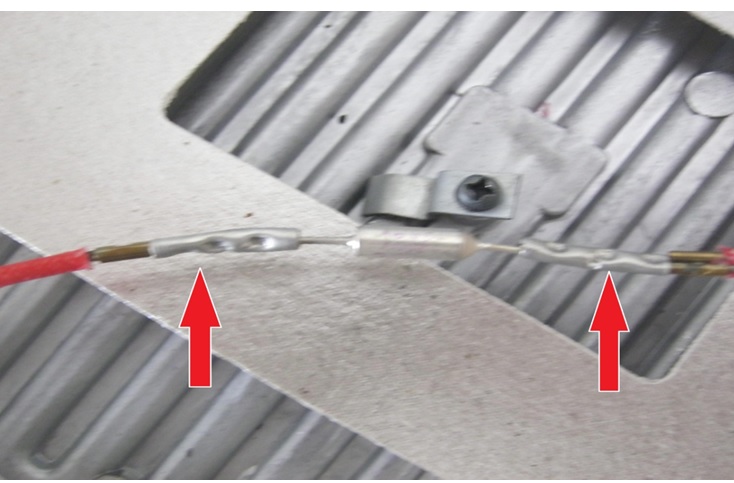
This is the new RY fuse crimped to the wire.
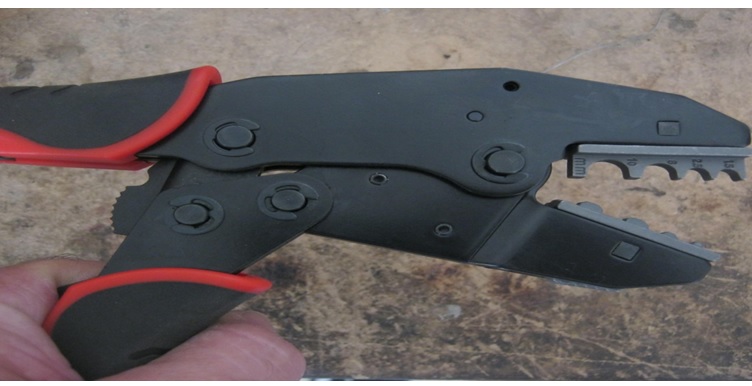
This is a heavy duty crimping tools that I bought from England. Yes it is expensive but worth it in special repair like this. It can be used in for all crimping purposes. Once I put the toaster back together and powered it on, both lights came on.
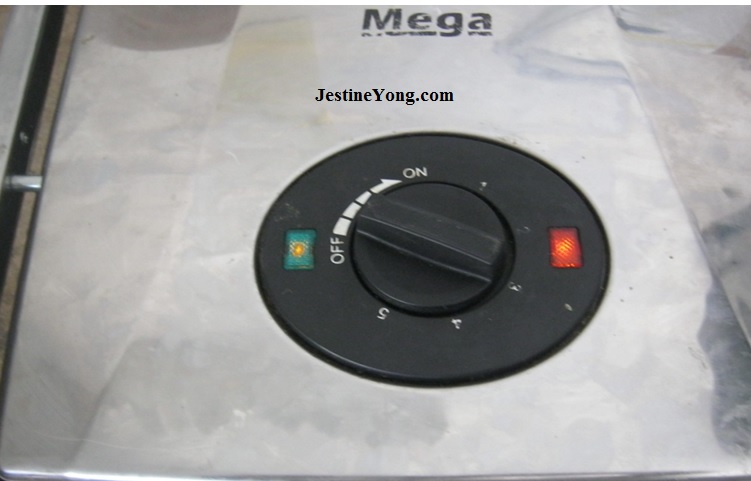
Mission Accomplished.

This article was prepared for you by Waleed Rishmawi, one of our ‘Master Authors’ and currently working in the Bethlehem area of Palestine repairing electrical and electronic equipment.
P.S- Do you know of any your friends who would benefit from this content that you are reading now? If so, forward this website to your friends or you can invite your friends to subscribe to my newsletter for free in this Link.
Note: You can check his previous repair articles in the link below:
https://www.electronicsrepairfaq.com/satellite-receiver-golfeesat-m-700-repair


Good job, Waleed. I also solder the connections. I don’t trust just crimping them. I use as many copper alligator heat sinks that I can and try to limit the soldering iron to no more than 3 seconds on the leads. It has worked well so far.
Usually solerding will end up melting but with crimping is more reliable for me if you do it correctly
I crimp them first and then solder them.
Good Job! waleed,
Yes investing in special tools will help you a lot for perfect work.
Yes tools are the other half of the technicians.
Like you I also have lots of tools in at least 5 toolboxes. In your last article you mentioned a special tool for cleaning metal contacts. You mentioned it was a cheap and good product. Where did you buy this special tool for cleaning and rubbing off corrosion on contact pins Waleed? And how is it called or a link too where I can buy such a tool? Thanks!
IFixit.com
Thanks the “Scratch Brush” info Waleed. I just bought a set of Fiberglass Scratch Brushes on eBay. It was about 4 Euros cheaper there. Plus it did me not cost an extra 8.90 euro extra for shipping either!! (in total about 12 euro cheaper!)
Excellent! Always learning something new from you! Many thanks!
caramba no conocía esa herramienta muchas gracias por toda la información.
==================================================================
gee, I didn’t know that tool, thank you very much for all the information.